Hi friend,
Nice to meet you, and thanks for choosing Chengdu JRT!
We are the factory and dedicated to
Laser Distance Sensor since 2004. The distance modules already widely used in many industrial area.
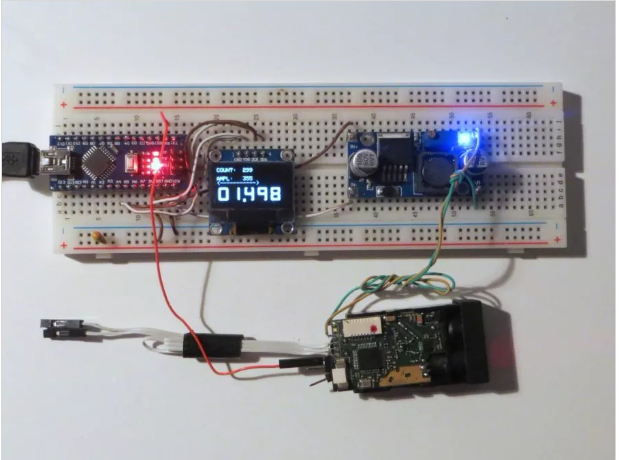
As customers who bought our laser ranging sensors often asked, "does the laser ranging module support to connect Arduino?" Yes, it already connnect to Arduino sucessfully. And so, we will provude you a brief description of how our customers applied Arduino tested our ranging module.
First of all, customers often choose our early 703A version laser
Distance Sensor module.
In addition, the following are some notes for attention before using the module, please refer to the instructions for use:
1. hardware connection, you need to weld these lines :1-power cord, our module power supply is usually 3.0 V or 3.3; 2-ground wire GND; 3-receiving line TX; 4-transmission line continuous measurement control line, boot control line, where power supply 3.0 or so ;(note: if there are other voltage requirements, you can external power supply to achieve) The receiving line RX, wiring of the
2. module should be connected to the location TX the sending line above. The sending line TX, wiring of the
3. module should be connected to the receiving line above the Arduino.
4. our module control command is single character ASCII code, module please do not tick HEX send;
5. ensure that the module has been turned on through the boot control line before sending the command.


